Camera Raw, the brilliant Lightroom raw image editing engine, is suddenly an always available, all-purpose Photoshop tool.
Let's say you have an image open in Photoshop ready to edit. You've been working a lot in Lightroom and your reflexes are tuned to the Lightroom develop module sliders and tools. The most convenient way to get from point A to point B would be to tweak some sliders and watch the image respond, but you're in Photoshop, so you have to snap into the context of Photoshop's toolset and work with the tools available in Photoshop's very different world. Not a big deal, but a slight conceptual interruption to your train of thought. Well, now there's a very handy and arguably, revolutionary alternative.
Duplicate layer

Make a merge visible layer (cmd-opt-shift-E) or duplicate layer (Cmd-J) so you have a pixel layer to "filter"
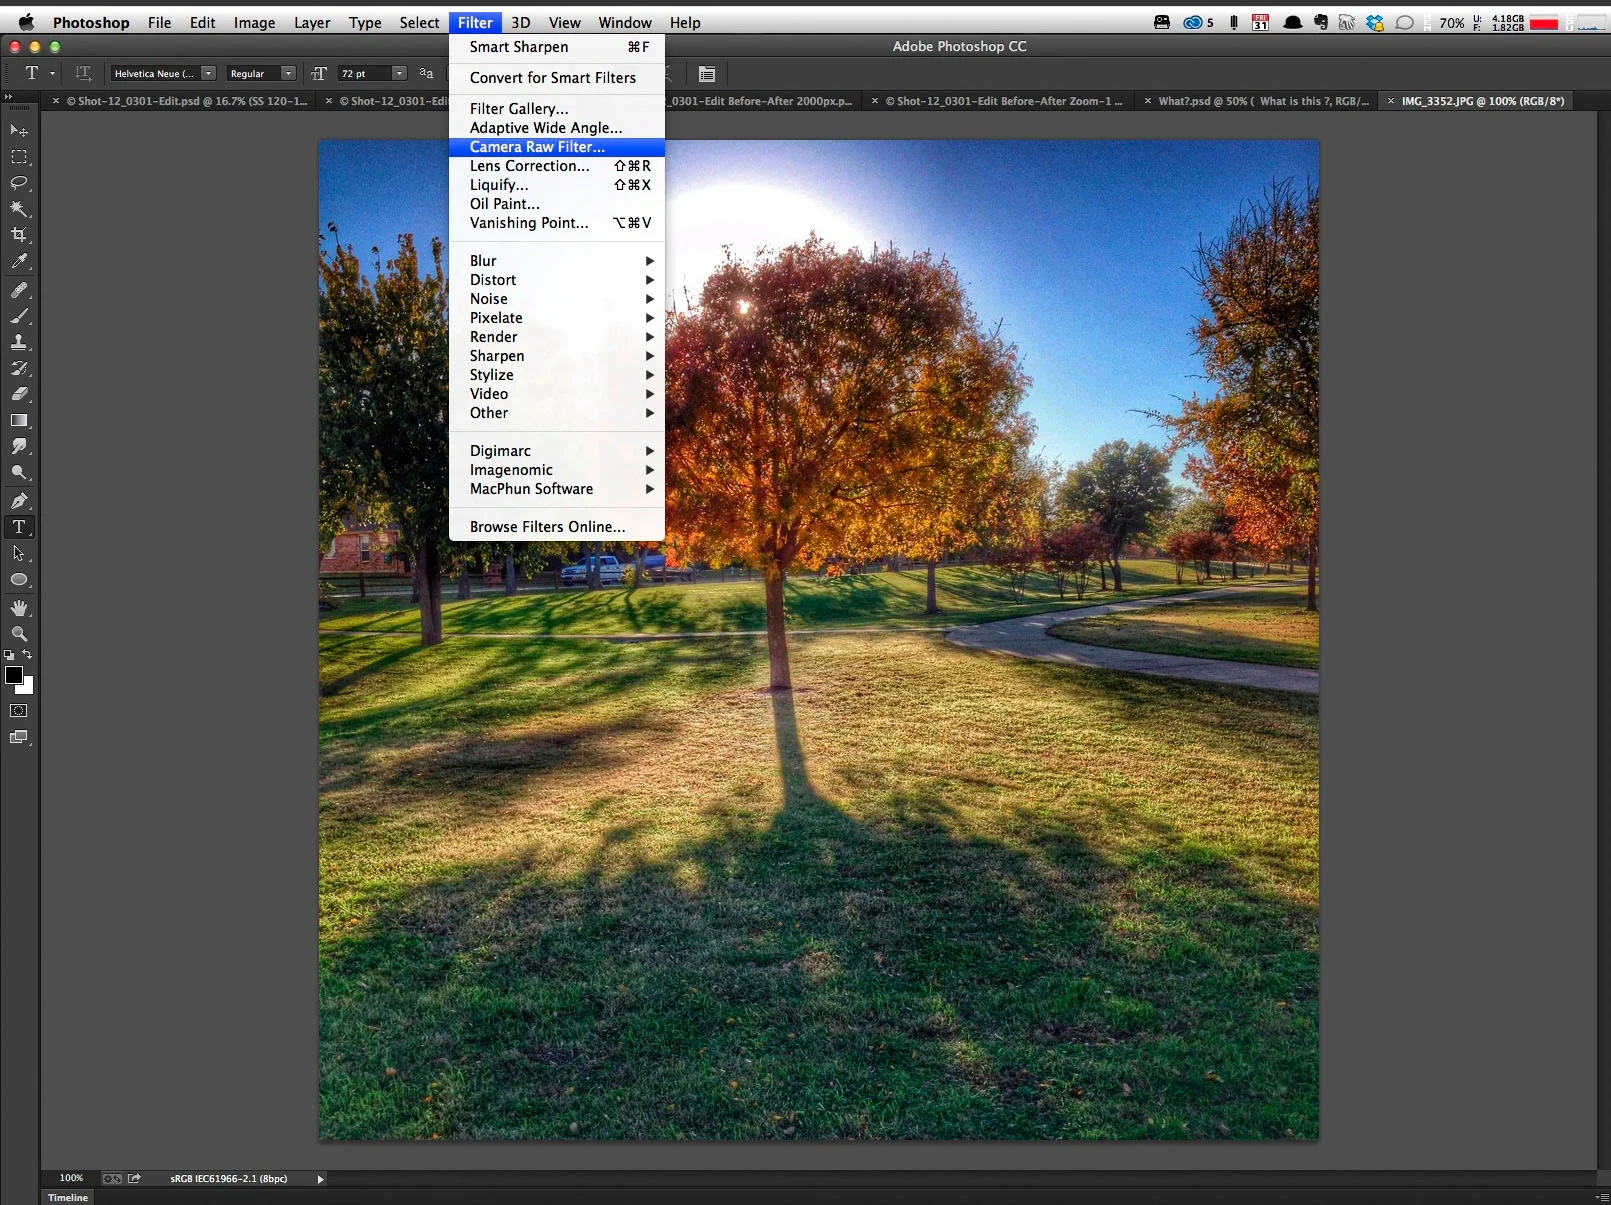
Filter Menu > Camera Raw Filter
From the Filter menu, choose Camera Raw Filter

Open Adobe Camera Raw
The Adobe Camera Raw Dialog will open with the same adjustment sliders and tools as the Lightroom Develop Module, although with a different placement of the tools across the top left side of the screen.

Camera Raw adjustments
Here I've converted to black & white by sliding the saturation slider all the way to the left, and added a mid-tone contrast and strengthened the blacks with a moderate move to the right on the clarity slider. Click the "OK" button in the bottom right corner.

Result: back in Photoshop's main screen
The layer with your edits floats above the original layers and can be worked with like any other pixel-based layer. If you want to be able to go back and tweak the adjustments you made, there's an extra step you need to take in preparation before invoking the Camera Raw Filter command. That's the subject of my next tutorial.
